Steels are widely used in a variety of engineering applications ranging from civil to aerospace and automotive industries. The simplicity to manufacture, the cost and the well-studied properties of steel alloys make them ubiquitous in engineering. Most alloyed steels are manufactured with a complex chemistry depending on the desired properties. However, this page will equip you with the knowledge necessary to perform metallography hassle-free and efficiently.
Metallography of Steels
Contents
1/ Metallography for quality control
Depending on the amount of carbon in unaltered steels, the two major phases that can be found in the microstructure are ferrite and pearlite. The primary microstructural characteristics that affect the final mechanical properties are:
- Proportion of phases
- Grain size of phases
When there are more alloying elements and heat-treatment steps, there are more phases forming in the steel. This adds to the information that can be collected from a microstructure. Some of the well-known phases studied through metallography are – austenite, martensite, retained austenite, bainite. In some cases, such as weld analysis, there can be a range of phases in the sample requiring careful analysis after polishing and etching.
2/ Sample preparation methods
In order to analyze the microstructure, the sample has to prepared without damaging the microstructure. Here below are the methods to follow during each step in the sample preparation process to properly analyze the microstructure.
- Cutting
- Mounting
- Polishing
Cutting
Cutting wheels
For all ferrous alloys, Lamplan provides 4 abrasive cutting wheels depending on the precision necessary and the hardness of the alloy. Lamplan Excellence wheels have coarser abrasives and are thicker. Hence, they are suitable for coarser and faster cutting. The Precision wheels contain finer abrasives and are thinner to provide a smoother surface finish making polishing easier.

| Excellence H1 | Coarse cutting soft and medium-hard steels (<600 HV) |
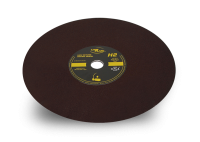
| Excellence H2 | Coarse cutting hard steels (>600 HV) |
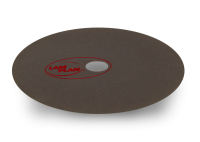
| Red | Precision cutting soft and medium-hard steels (<600 HV) |
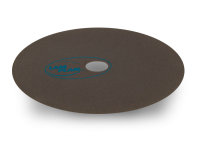
| Blue | Precision cutting hard steels (>600 HV) |
Fixing the workpiece
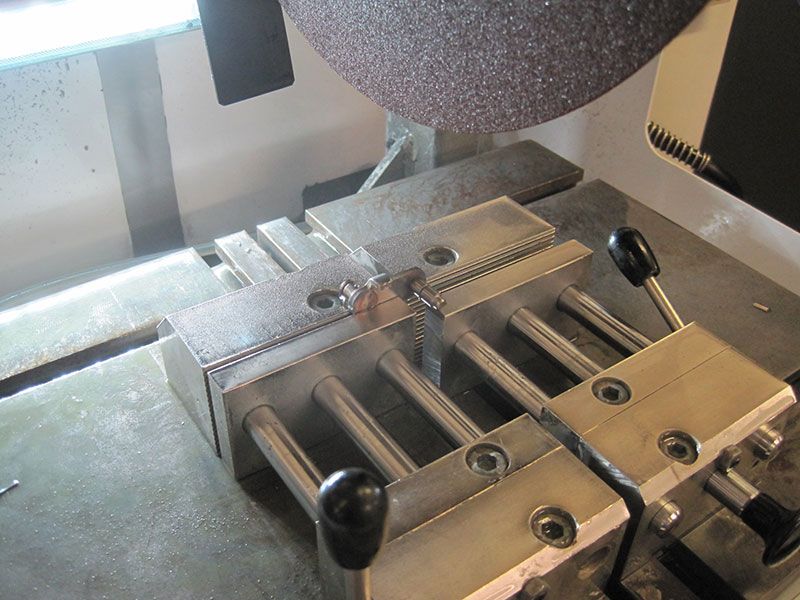
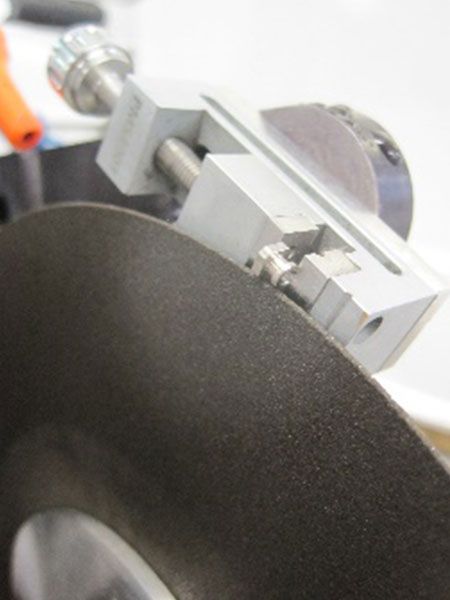
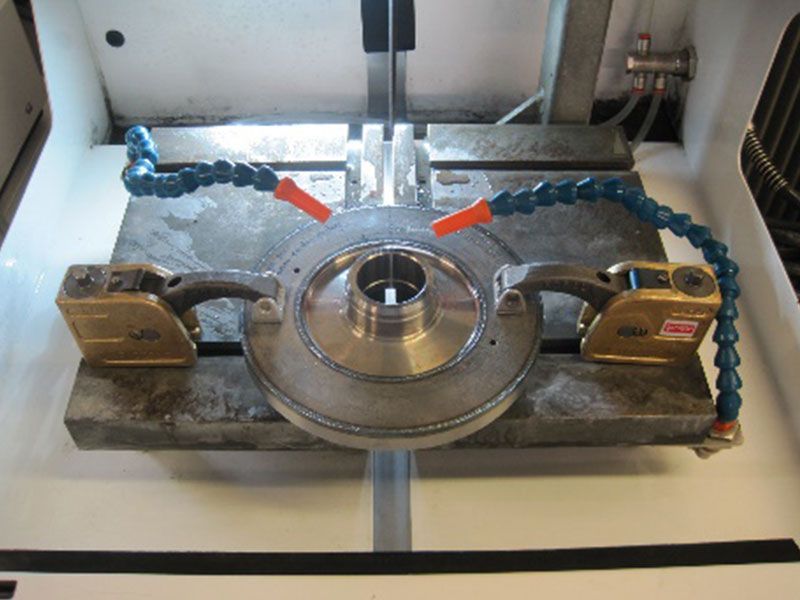
Depending on the form and size of the workpiece, a vise or a fixation system should be chosen. Lamplan’s fixation systems avoids excessive vibrations and dangerous release of pieces from the fixation systems while cutting with Cutlam machines.
Machine parameters
The rotational speed of the wheel and feed rate are input depending on the alloy being cut. The chart below presents the optimal rotational speed based on the diameter of the cutting wheel.
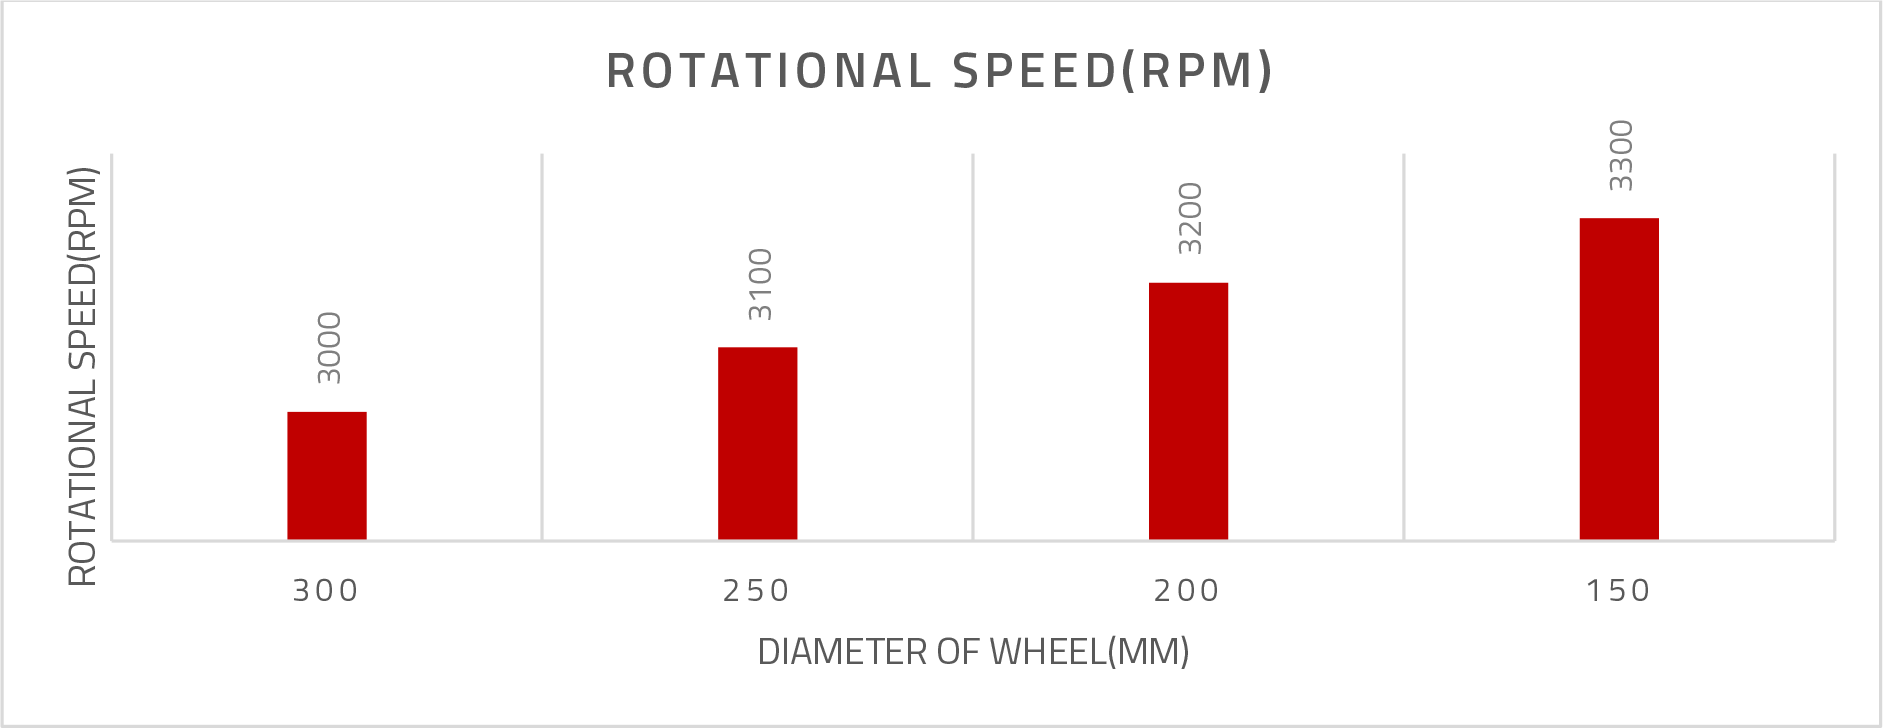
When there are fragile phases or brittle coatings in the workpiece to be cut, the precision cutting wheels have to be used with a feed rate less than 0.3 mm/s to avoid damage.
Specifically using the automatic Cutlam machines, the burning and deformation can be completely avoided using the motor threshold control. The wheel advance will pause whenever the load on the motor crosses the set limit. This allows the user to change the parameters appropriately to have a burn-free cut.
Cutting fluid
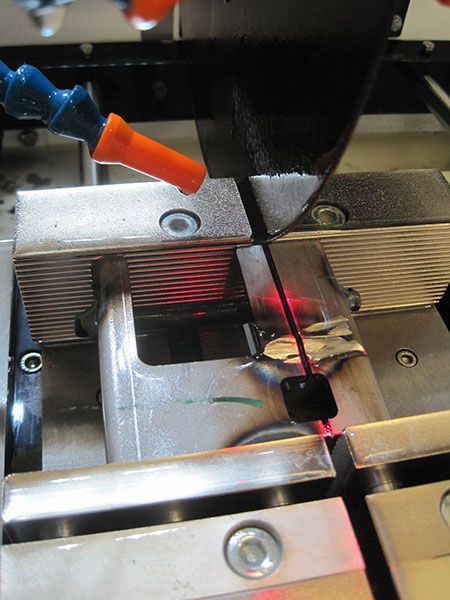
Lamplan Cutting fluid 722 is recommended to be used to avoid excessive heating and microstructural deformation. The fluid provides the right proportion of lubrication and cooling effect making it ideal for metallographic applications. Cutting steels produce a lot of debris within the machine and the slight rinsing action of Fluid 722 helps maintain the machine cleaner.
Mounting
Generally, steels are resistant to temperatures greater than 180oC. This allows them to be hot mounted in mounting presses. Depending on the functionality necessary the right hot mounting resin can be used.
Bakelite is widely as it is cheap and easy to use. However, we recommend an improved alternative – Lamplan Phenofree resin which is a phenol-free thermosetting resins.
Lamplan Epoxy 633 and 634 resins are used when edge-retention becomes a critical parameter. When delicate coatings such as carbonitride layers are to be analyzed, Epoxy resins are to be used to avoid damage while grinding and polishing.
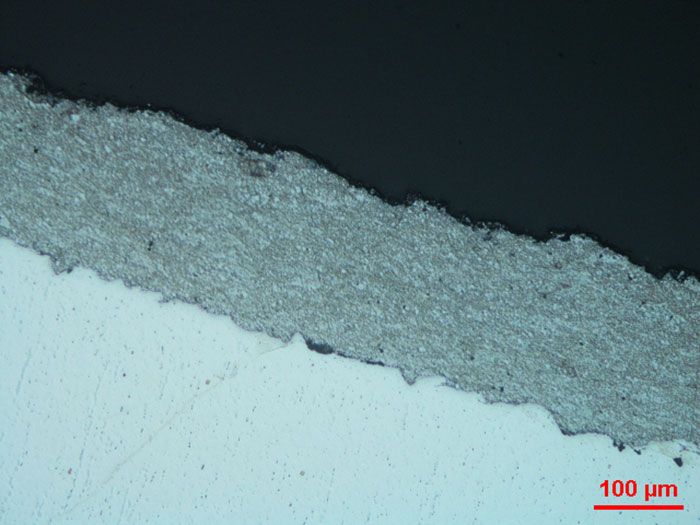
HVOF coating on a steel sample polished after mounting in Lamplan Epoxy 634. The absence of gap between the resin and the sample preserves the quality of the coating while grinding and polishing.
Lamplan Acrylic 616.2 resins are PMMA based resins that are transparent. They are usually used when the sample has to be made visible in the mount for thickness control.
Occasionally when the steel cannot be heated to above 180oC, cold mounting resins are used.
Find more information on our hot mounting and cold mounting resins:
Grinding and Polishing
The first step is usually coarse grinding to render the samples flat. Cameo Platinium disks are very effective while coarse grinding steels. When precision cutting wheels are used, the Cameo Platinium 2 is optimum. When more material has to be removed to make the samples flat(when the samples are highly skewed), Cameo Platinium 1 is used as it is more aggressive.
Once the samples are flat, they can be pre-polished. Cameo Disk Silver and Gold are recommended with diamond abrasive slurries (Biodiamant Neodia series) for pre-polishing steel alloys.
Once the samples are pre-polished, polishing pads are used with finer diamond slurries to remove all the scratches from pre-polishing. Often, this polishing step is supplemented by a finer polishing step to refine the scratches further to analyse the microstructure are higher magnifications(>200x) or even an SEM(Scanning Electron Microscope).
More general information on Lamplan polishing consumables can be found here:
Two of our most effective polishing methods are presented below with some results they have produced.
Polishing Method 1
For basic microstructural analysis of soft and medium hard steels the following 4-step procedure can be sufficient.

CW – Clockwise / CCW – Counter Clockwise / Head direction: CW for all steps (the procedure is presented of polishing 6 mounted samples of diameter 30 mm)
Microstructures
Below are few microstructures resulting from the aforementioned method
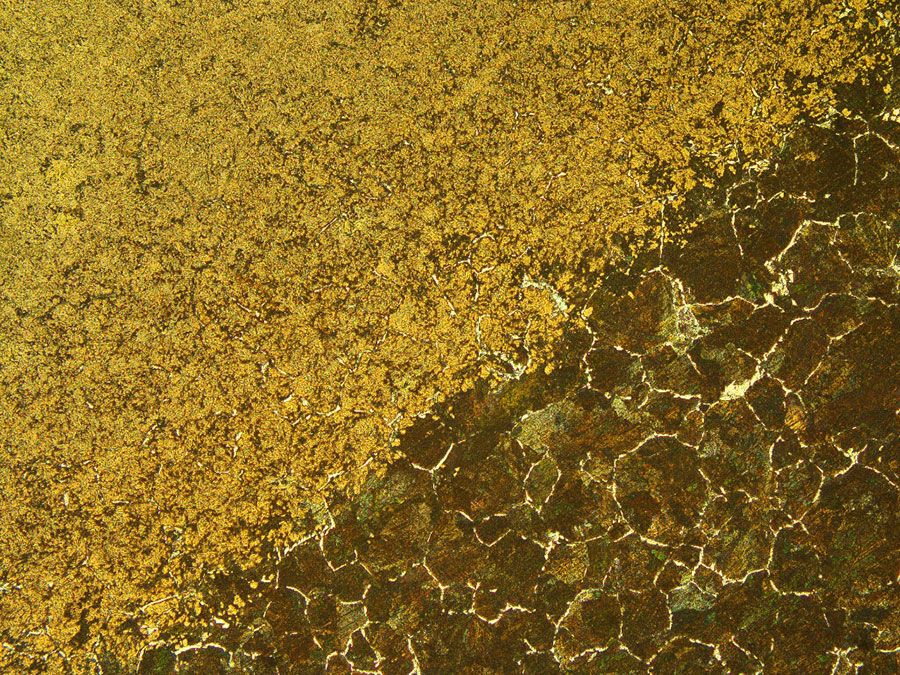
Microstructure of a surface hardened steel etched with Nital 5%- The dark region of the microstructure contains a high carbon pearlite phase with traces of ferrite in the grain boundaries whereas the bright region contains a toughened tempered martensitic phase.
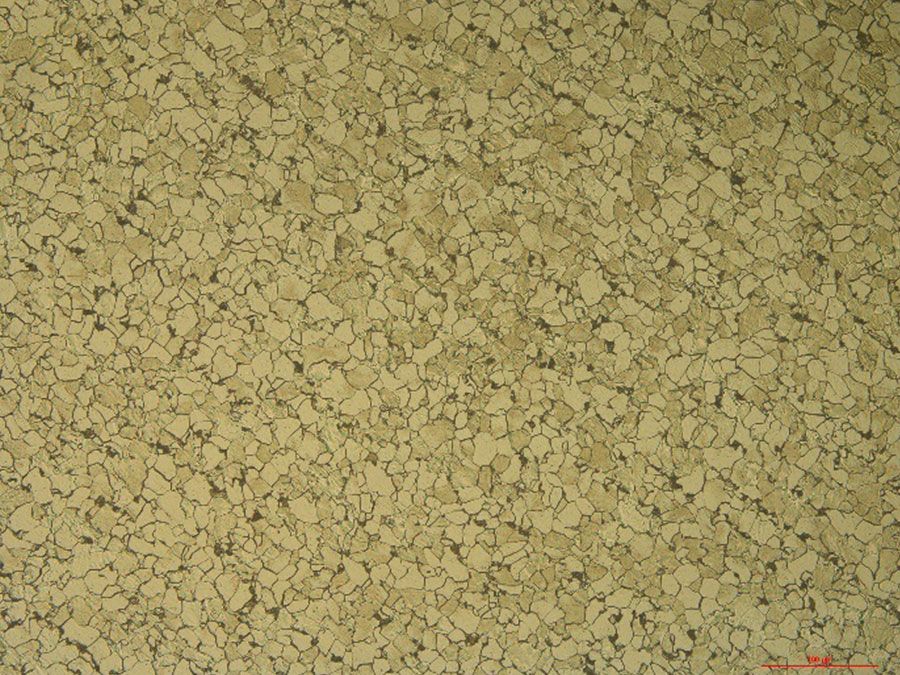
Microstructure of a rolled low carbon with regular but discontinuous bands of peralite.
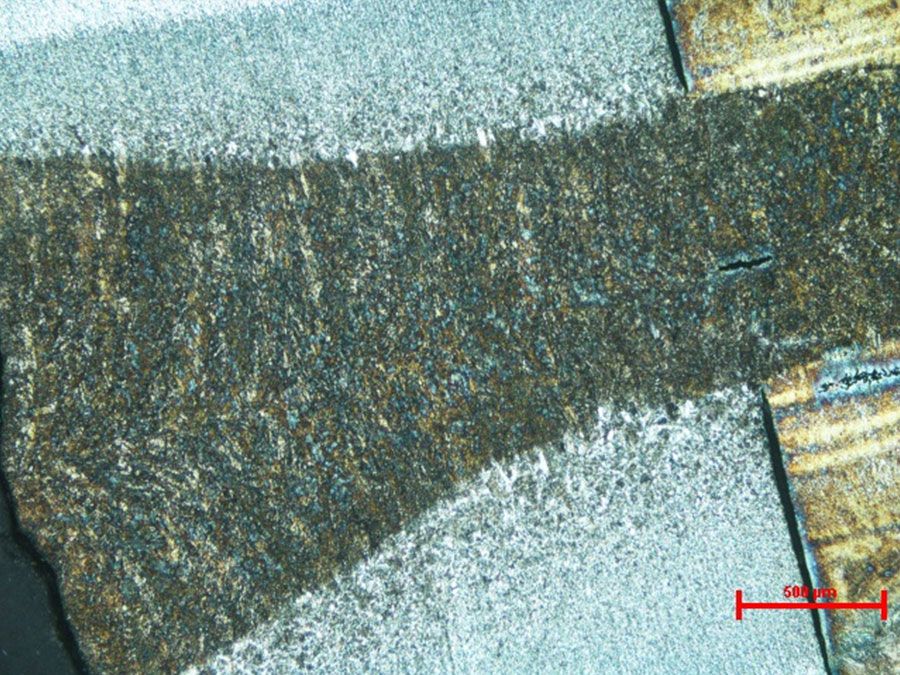
Macrostructure of weld captured after quick manual polishing with Cameo Platinium 1 and Cameo Silver and etching with Nital 5%
For weld analysis where weld shape and macro-defects are of the only interest which is generally studied by macro-etching, the fourth step can be skipped.
Polishing Method 2
The Method 2 is optimized for having very flat polished surface on harder and stainless steels with hard and brittle coatings.

CW – Clockwise / CCW – Counter Clockwise / Head direction: CW
(the procedure is presented of polishing 6 mounted samples of diameter 30 mm)
Microstructures
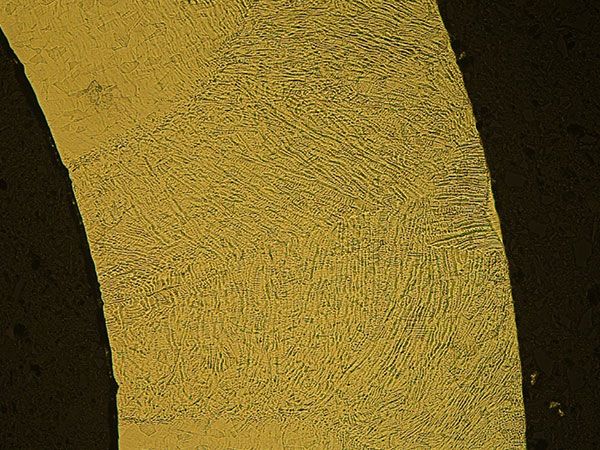
Microstructure of rolled and welded Stainless steel 316L (Slightly etched with Kalling’s reagent.
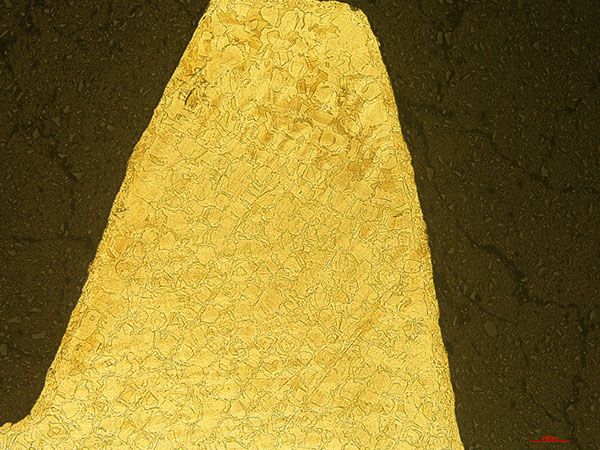
Austenitic grains in Stainless steel 316L from Additive Manufacturing (etched with Kalling’s reagent).
3/ Troubleshooting
Listed below are some solutions to common problems that can arise during metallographic sample preparation of steels.
-
Burning marks on cut surface
-
Cause(s)
• Feed speed too high
• Wrong choice of cutting wheel
• Insufficient coolant flow -
Solution(s)
• Reduce feed speed
• Check the level of coolant
-
Scratches persist on Microstructure after final polishing
-
Cause(s)
• Contamination of polishing pad
• Improperly cleaned samples after pre-polishing
• Gap between mount and the sample -
Solution(s)
• Replace the polishing pad. Store the polishing pad in a closed cupboard/BoxLam
• Rinse the samples well after each polishing step. Use Ultrasonic cleaner before final polishing
• Try Epoxy resins to avoid gap around the specimen
-
Non-uniform etching of the sample
-
Cause(s)
• Wrong etchant/etching technique
-
Solution(s)
• Choose the right etchant and technique for your alloy (Ref.: ASM Handbook)
-
Smeared layer on the surface
-
Cause(s)
• Improper drying after polishing
-
Solution(s)
• Use alcohol to clean the surface
• Blow dry the surface thoroughly after cleaning
• Use LAM15 for wiping the surface


