Titanium alloys are known for their high specific tensile strength and toughness, and corrosion resistance among non-ferrous alloys. Unlike aluminum alloys, titanium alloys are resistant to This makes them a frequently used structural alloy for components such as turbine blades in aircraft industries. In addition to their specific strength, their bio-compatibility makes them widely used in orthopedic implants. Be it the aircraft industry or biomedical industry, quality control is extremely critical.
Metallography of Titanium
Contents
1/ Metallography
The two primary allotropic phases identified in titanium alloys are the hcp-structured α phase and the bcc-structured β phase. Owing to their crystal structures, the α phase is stronger but less ductile while the β phase is softer and more ductile. The phases can be found in varying proportions and forms depending on the chemistry of the alloy and the heat-treatment process. Out of the hundreds of titanium alloys, the most widely used are the α+β titanium alloys such as Ti-Al-V alloys and commercially pure titanium (CPTi).
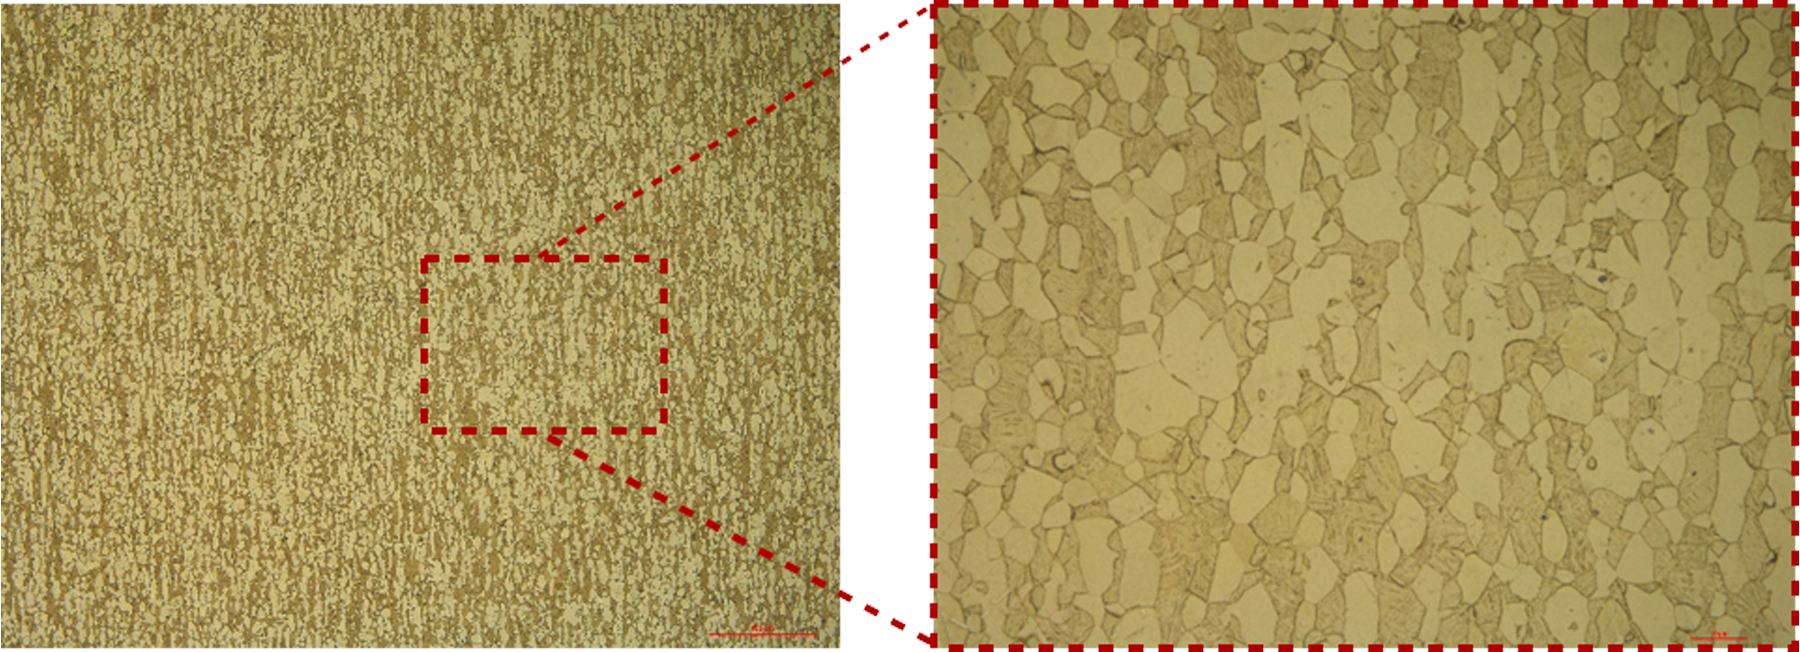
Titanium alloys can be cast or wrought resulting in different microstructures and mechanical properties.
To add to the existing manufacturing processes, the recently growing field of additive manufacturing has explored titanium alloys extensively to generate novel microstructural features that result in well-engineered properties like never before. Months of metallographic research is being put in additively manufactured titanium alloys because of the plethora of parameters in AM that affect the microstructure of the alloy directly in addition to the chemical composition. For example, a Ti-Al-V of the same composition can show different microstructures and properties when fabricated through EBM (Electron Beam Melting) or SLM (Selective Laser Melting)1.
Titanium alloys have poor wear-resistance which is improved by surface treatment processes such as nitriding. Being used in critical aero-engine components, the quality of the nitride layer is thoroughly judged through metallography. It is interesting to note that, when subjected to higher temperatures while nitriding, grain coarsening can occur in the base alloy leading to reduced strength.
In recent years, industries and researchers have found enormous interest in quantitative metallography. For example, the grain size and α/β proportion in a Ti-Al-V is of huge interest in directly determining the desired properties of the alloy. With advancing software techniques, this aspect is taken care of by computers.
[1] Murr, L. E. (2018). A metallographic review of 3D printing/additive manufacturing of metal and alloy products and components. Metallography, Microstructure, and Analysis, 7(2), 103-132.
2/ Sample preparation methods
In order to analyze the microstructure, the sample has to be prepared without damaging the microstructure. Here below are the methods to follow during each step in the sample preparation process to properly analyze the microstructure.
- Cutting
- Mounting
- Polishing
Cutting
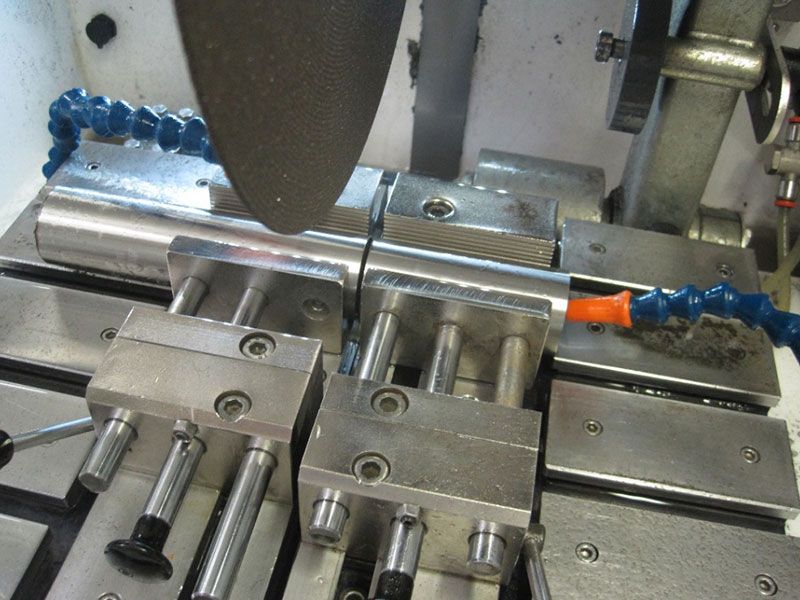
Titanium alloys can overheat and deform easily if precautions are not taken while cutting. The choice of cutting wheel and coolant is very important.
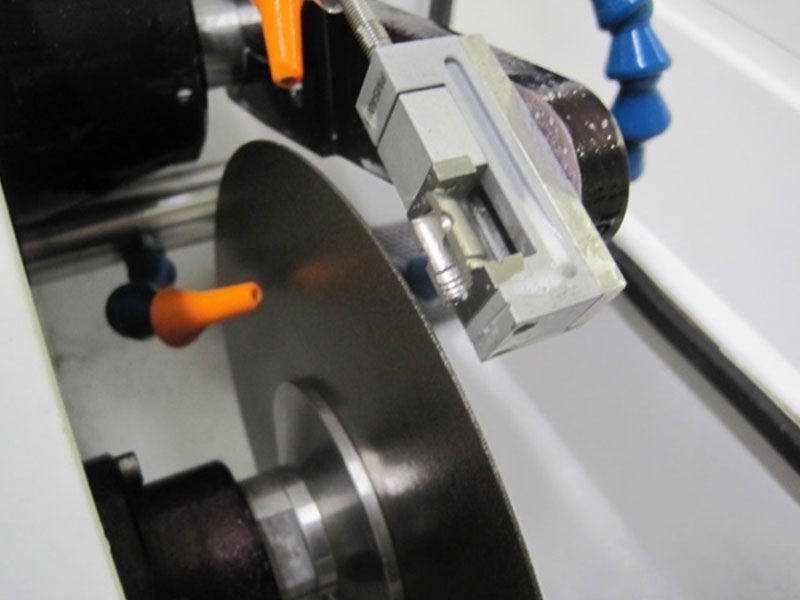
Cutting wheels
For cutting titanium alloys, SiC-based grinding wheels are recommended. Lamplan Excellence H4 wheels can be used for coarse cutting or Lamplan Precision White wheels for fine cutting. Using precision wheels result in finer scratches making the polishing process shorter.
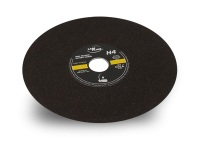
| Excellence H4 | Coarse cutting all titanium alloys |
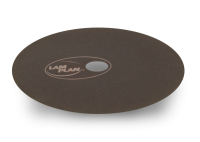
| White | Precision cutting all titanium alloys |
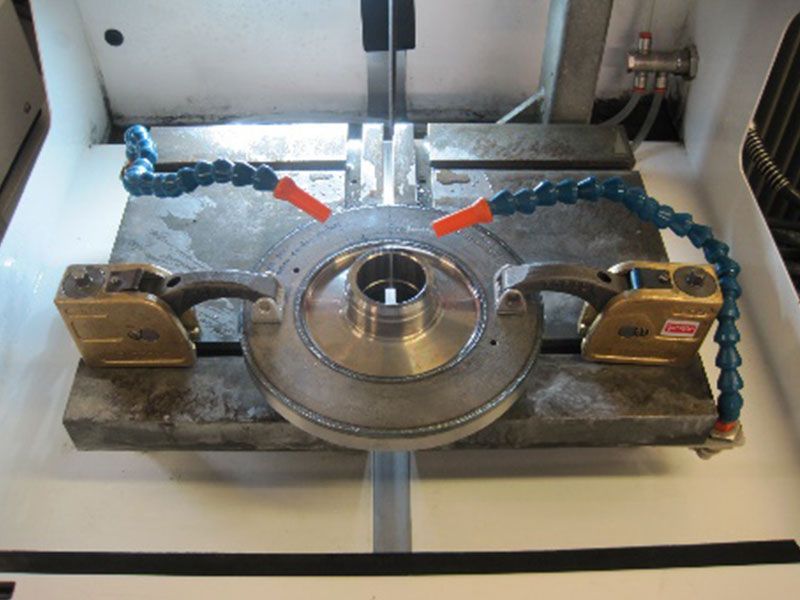
Fixing the workpiece
Cutting fluid
Lamplan Cutting fluid 723 is recommended to be used to avoid excessive heating and microstructural deformation.
The fluid provides the right proportion of lubrication and cooling effect making it ideal for metallographic applications.
Machine parameters
The rotational speed of the wheel and feed rate are input depending on the alloy being cut. The chart below presents the optimal rotational speed based on the diameter of the cutting wheel.

When there are fragile phases or brittle coatings in the workpiece to be cut, the precision cutting wheels have to be used with a feed rate less than 0.3 mm/s to avoid damage.
Specifically using the automatic Cutlam machines, the burning and deformation can be completely avoided using the motor threshold control. The wheel advance will pause whenever the load on the motor crosses the set limit.
A threshold of 35% during 0.3 s is recommended while cutting titanium.
While cutting large sections of titanium alloys, it is safer to split the cut into multiple sections. For example, Cutlam 3.0 allows the user to program a cut on 40 mm thick workpiece by making the wheel go forth and comeback after entering 10 mm into the piece. While this takes more time, it ensures a deformation-free and a burn-free cut. Also, it extends the life of the cutting wheel.
Mounting
Titanium alloys are generally hot mounted and rarely cold mounted.
When hot mounting is carried out for titanium alloys, there are two resins to choose from:
- Lamplan Phenofree are phenol free thermosetting resins that offer quick and economic mounting process. While it is quick, it is not absolute in terms of shrinkage.
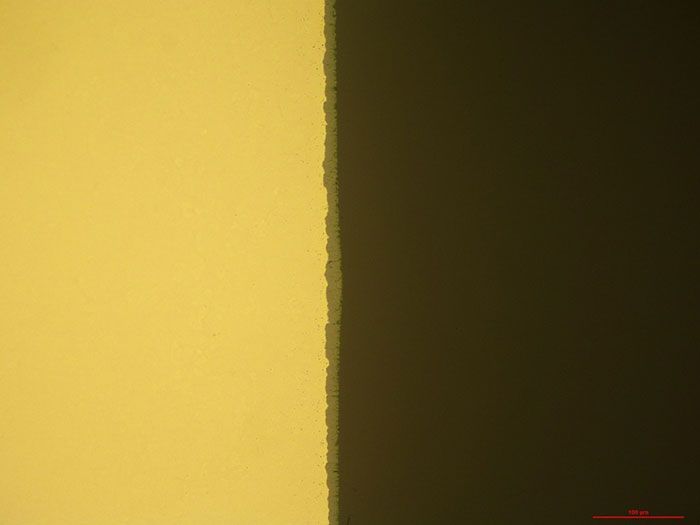
- When edge retention becomes critical, for example to measure the thickness of anodized or nitride layer on a titanium alloy, epoxy resins such as Lamplan’s 633 or 634 are ideal.
Sometimes, the information to be gathered can be sensitive to heating. For example, checking defects between titanium laminates in a polymer matrix composite. In that case, Lamplan’s widely used CMR-free 605 resins can offer quick and easy-to-use cold mounting solutions. When edge retention becomes critical, polyester-based resin 607 or CMR-free epoxy resins 603 and 603.2 works effectively.
Find more information on our hot mounting and cold mounting resins:
Grinding and Polishing
The first step is usually coarse grinding to render the samples flat. Depending on the amount of material to be removed, CAMEO Platinium 1 or CAMEO Platinium 2 can be used for coarse grinding titanium. Occasionally, when the alloys are too soft, SiC papers are used for coarse grinding.
Once the samples are flat, they can be pre-polished/polished. Lamplan TOUCHLAM® 2TT1 and 2TS3 are very effective when used with Neodia® abrasives on titanium alloys. The pad also maintains the samples flat during the polishing process.
Often, this polishing step is supplemented by a chemo-mechanical polishing step to remove the scratches completely to analyse the microstructure are higher magnifications (>200x) or even an SEM (Scanning Electron Microscope).
Method 1

CW – Clockwise / CCW – Counter Clockwise / Head direction: CW for all steps.(the procedure is presented of polishing 6 mounted samples of diameter 30 mm)
Method 2
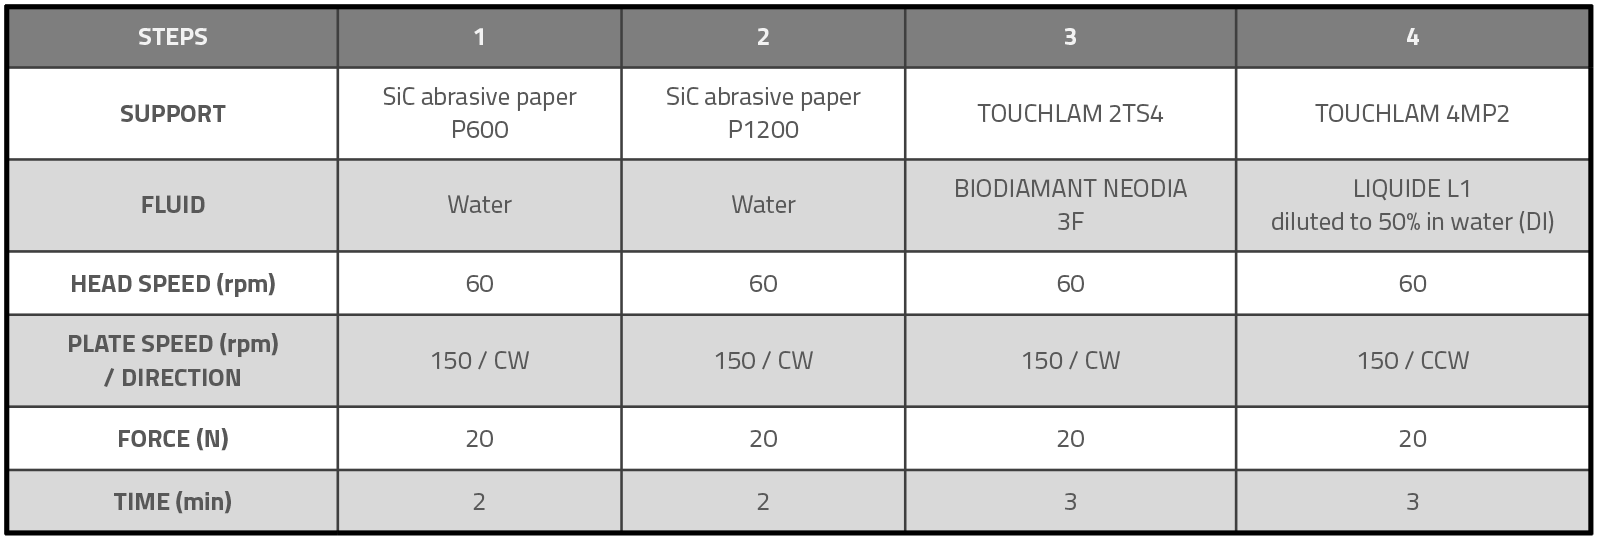
CW – Clockwise / CCW – Counter Clockwise / Head direction: CW for all steps.(the procedure is presented of polishing 6 mounted samples of diameter 30 mm)
3/ Troubleshooting
Listed below are some solutions to common problems that can arise during metallographic sample preparation of steels.
-
Burn marks on cut surface
-
Cause(s)
• Feed speed too high
• Wrong choice of cutting wheel, use a H4
• Insufficient coolant flow -
Solution(s)
• Reduce feed speed
• Check the level of coolant
-
Excessive misting and fumes in cutting chamber
-
Cause(s)
• Cutting speed too high
-
Solution(s)
• Reduce the cutting speed or cutting motor threshold
-
Scratches persist on microstructure after final polishing
-
Cause(s)
• Contamination of polishing pad
• Improperly cleaned samples after pre-polishing
• Gap between mount and the sample -
Solution(s)
• Replace the polishing pad. Store the polishing pad in a closed cupboard/BOXLAM
• Rinse the samples well after each polishing step. Use Ultrasonic cleaner before final polishing
• Try Epoxy resins to avoid gap around the specimen
-
Embedded abrasives after polishing
-
Cause(s)
• Excessive usage of abrasive slurries
• Excessive force while polishing
• Incorrect abrasive slurry -
Solution(s)
• Reduce abrasive dosing frequency
• Reduce polishing force
• Cross verify if you are using the right consumables
-
Smeared layer on the surface
-
Cause(s)
• Improper drying after polishing
-
Solution(s)
• Use alcohol to clean the surface
• Blow dry the surface thoroughly after cleaning
• Use LAM15 for wiping the surface
-
Non-uniform etching of the sample
-
Cause(s)
• Wrong etchant/etching technique
-
Solution(s)
• Choose the right etchant and technique for your alloy (Ref.: ASM Handbook)
